You did it. You have a new piercing! What happens next?
A solid piercing aftercare routine is important for a healthy and happy piercing. This piercing healing and aftercare guide will explain how to best care for your fresh piercing! Your body is complex and it’s our job to guide you through your piercing journey in the safest, most comfortable way possible.
What to expect:
First, let’s get the myths out of the way. It is normal and most people will experience some - and sometimes all - of the symptoms below while healing their fresh piercing.
- Slight bleeding
- Swelling
- Tenderness
- Itching
- Bruising
- Soreness
- Formation of body crusties
During the initial healing stages it’s very common to experience itching, secretion of a whitish-yellow fluid that will form a crust on the jewelry, as well as dryness and redness around the piercing. These symptoms are often mistaken for signs of infection. If you have any concerns the best thing to do is to reach out to your professional piercer.
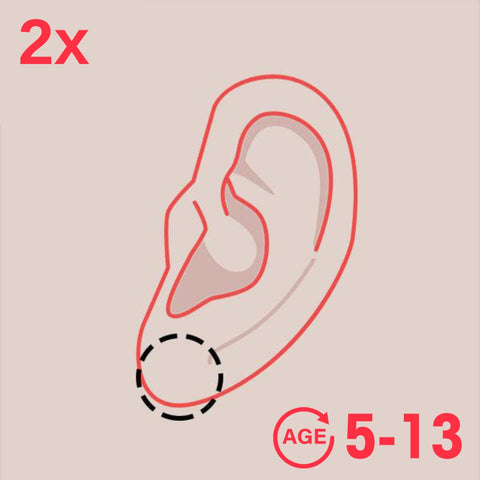
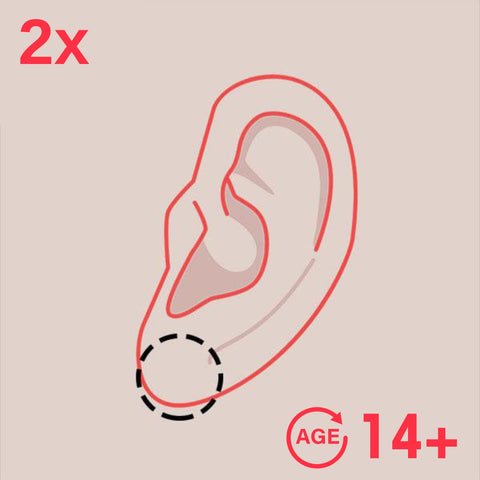
What are the healing times?
The typical ear lobe piercing takes somewhere around 8 weeks to heal. Each body is different and can heal piercings faster or slower. Other ear piercings can take anywhere between 3 to 12 months to fully heal. Body piercings largely depend on the specific piercings, so it is best to ask your piercer at the time of the piercing!
You can generally know your ear piercing is healed once any discharge, swelling, redness, or soreness stops, but the best way to know if your piercing is fully healed is to go visit your professional piercer for an assessment before presuming it's healed.
Expect to have, and learn from, your own healing journey
Your lifestyle and daily routine play a large role in your healing time ability. Things like having to wear a helmet often can affect the healing time of ear piercings, while frequently doing sit-ups at the gym, swimming at the pool several times a week, or poor posture in particular while sitting at a desk can impact belly button piercings healing. Even working in a dusty environment like construction with exposed nose or ear piercings can influence your healing ability.
It is also important to consider the types of clothing that you frequently wear. High wasted pants or large belts for example, can prolong the healing of a belly button piercing.
One smart tip is to consider the best time of year to get pierced according to your lifestyle. If you play sports that would encourage you to remove the piercing during play, or if it could be damaged due to physical contact such as martial arts or rugby you can plan around your schedule. Summer time and vacations can come with lots of swimming, sand and sun exposure in which case you may not want to have to consider a healing piercing.
How to take care of a fresh piercing?
The key to an optimum piercing healing is cleaning. A clean piercing is a happy piercing! With two simple daily steps, you should be on your way to an ideal piercing healing journey.
Step 1: Cleaning your fresh piercing
Wash your hands! It is super important that you are only touching your new piercing with clean hands.
Cleaning involves the washing your piercing, jewelry and the surrounding skin. The best time to do this is at the end of a shower, after washing your hair and body.
Always ensure your hands are freshly washed before all aftercare.
Take a pea-sized amount of soap and lather in your freshly cleaned hands. Gently wash the area of your new piercing, being careful not to move or twist your jewelry and to not force soap inside the wound itself.
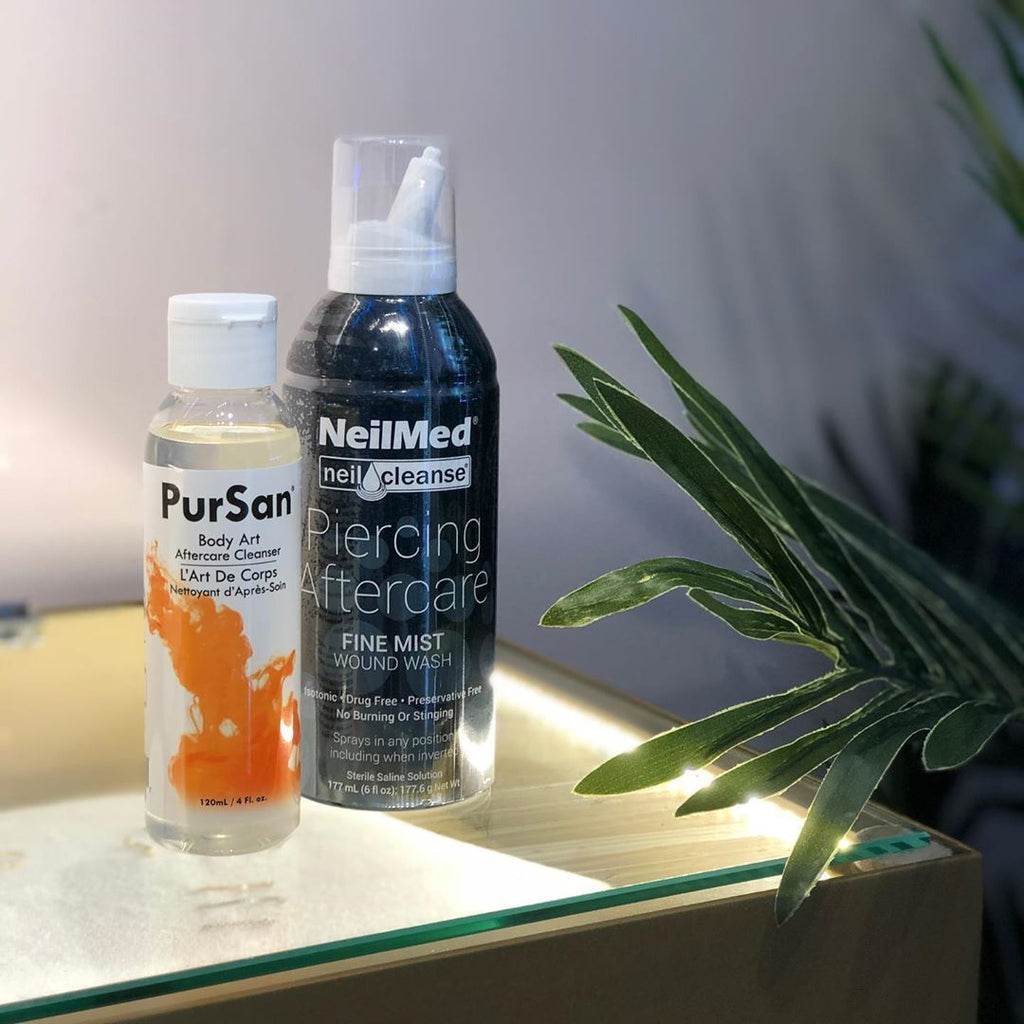
We recommend PurSan soap for optimum cleaning of your fresh piercing. If you would like to use a different soap, make sure you pick a Glycerin-based medical grade soap with no dyes, fragrances, or triclosan as these can damage cells and prolong healing. NOTE: Do not use bar soap!
Rinse the front and back thoroughly and pat dry using gauze pads or paper towels. We do not recommend using cloth towels as they can harbour bacteria. It is important to dry the piercing area carefully as leaving it wet can encourage the wound to absorb extra moisture and prolong healing.
Step 2: Irrigating your fresh piercing
Irrigation is the way we rinse off the daily build-up that forms on the back and front of our new piercing naturally. These are a normal byproduct of our bodies, but we want to avoid any build-up which can slow healing and/or cause complications.
Irrigation should be done at the opposite end of the day from your shower. For example, if you usually take showers in the morning, irrigate your piercing at night. And if you usually take showers at night, irrigate your piercing in the morning.
We recommend using Neilmed Saline Spray as it’s what our piercers trust as aftercare. If you choose to use different aftercare, make sure you are using an additive-free packaged saline solution. Avoid using homemade salt mixtures as too much salt in your mixture can damage your new piercing.
Spray the Neilmed aftercare directly onto the front and back of your piercing specifically where the jewelry enters and exits the skin. let the solution sit for up to 30 seconds and pat dry with a clean piece of non woven gauze. Its important to use gauze that is in a clean resealable package or container and avoid using gauze that is communal. keep this gauze just for your piercing. With great care not to let the gauze catch on and prong or gem settings, you can carefully remove and build up that may have accumulated on the gem face. It is important not to remove any actual scabbing which will be located directly on the entrance/exit of the piercing and would be painful to remove and more firmly secured to the skin then any build up found attached to the post or surrounding area.
Downsizing your labret post or your ring.
When you get your initial piercing at one of our Pierced studios, the piercer will always first fit a longer labret post (part that enters and exits your body) to accommodate the initial swelling and provide enough room for adequate irrigation needed for healing to begin.
Once the initial healing stages have subsided, the extra length from the labret post or ring is no longer needed, and in some cases, can be rather detrimental to the continuing healing and placement and for those reasons we always recommend you come back to our studios for downsizing after getting a fresh piercing.
The DON’TS
Avoid self-assessment whenever possible.
Often people will experience what is believed to be a complication and act on it based on the knowledge they have or info from their friends and family. Frequently what is presumed to be issues may in fact be normal stages or signs healing. And in the event that there is an issue, professional piercers have seen it all before and can frequently get to the root of the issue in a few minutes consultation.
But self assessment and presumptions often lead to misinformation found online or advised by friends. Also removing the piercing without consulting a piercer about the concerns will frequently prevent them from being able to properly discover the root of the issue. If there are ever any concerns please call and book a consultation and our piercing team will gladly help get it solved. More often than not, what may seem like an issue can just be normal stages of healing.
Moving, touching or spinning your new piercing.
Movement will prolong healing and will irritate your piercing. You should never touch or spin your fresh piercings.
Sleeping on your piercing or wearing headphones, hats or clothing that put pressure on your piercing.
Pressure during these important healing stages often leads to migration, moving your piercing from its original placement and causing further complications. Great care should be taken when resting, making sure piercing is free of rough contact. We also recommend a travel pillow for sleeping with new ear piercings.
Over or vigorously cleaning your new piercing.
Cleaning too often or too roughly can damage cells in your skin, slow down healing and prolong pain and swelling. A single cleaning and a single irrigation per day is plenty.
Submerging your piercing in pools, lakes and other bodies of water.
Bodies of fresh and saltwater have entire ecosystems inside of them as well as all the bacteria that come with it. Understandably, using this water to clean a wound is not advised. Chlorine pools also contain multiple forms of bacteria from their multiple users and chemicals. You increase your risk of infection dramatically if you swim before your piercing is healed.
Using non-recommended aftercare or home-made remedies.
Products such as tea tree oil, aspirin, peroxide, bactine or cleaners that contain Benzalkonium Chloride (BZK) or triclosan seriously damage the cells. They prolong healing and are the number one cause of complications in piercings. If it’s not recommended by your piercer, do not put it anywhere near your piercing
Chemicals or cosmetics on the piercing site.
Chemicals from cleaners, make-up and lotion contain many ingredients not suitable for a healing wound. They can also spread bacteria to your skin and in turn to your products. You should avoid using cosmetics on your piercing site until it’s healed.
Oral contact with piercings.
Saliva contains harmful bacteria that can be introduced into your wound, leading to pain, discharge and infection. Any oral contact should wait until the piercing is fully healed.
Changing your Jewelry too soon.
Your piercing needs to go through several stages of healing before downsizing and changing your jewelry. Although you may feel like your piercing has healed, changing your jewelry too soon can result in tear at your fistula (the piercing channel) and damage the wound, resulting in swelling, pain and healing complications. Your professional piercer will advise you on the time required to heal your particular piercing.
Wearing non-implant-grade materials.
Costume jewelry is made of mystery metals which are not suitable for wear inside the body. Pieces can be painted and gems secured with glue. All of these materials break down in our bodies, leaking toxins and damaging cells required for healing to take place. All body jewelry should be:
Implant grade
This will guarantee the jewelry is tested and certified for long term wear in the body, like the metals found in pacemakers and other medical implants. We recommend solid 14k gold or implant-grade titanium.
Highly polished
This is evident by the finish of the jewelry. Tiny surface scratches can drastically affect the well being of both fresh and healed piercings. Being able to see your reflection in the mirror finish is a good indication of superior polish.
Correctly sized
Wrongly fitting body jewelry can reduce blood flow and cause migration to take place, moving your piercing from its original placement. This often leads to complications. All body jewelry should be fit to your anatomy and preferably fitted by a professional piercer the first time to ensure correct fit.
Conclusions:
Now you know how to take proper care of your fresh piercing! If you have any concerns, always consult your piercer before making any decisions regarding the health and well being of your piercing. Not only they provide the best experience for the initial piercing procedure, but also support you throughout your entire healing experience. Have a happy healing!
Piercing Studios Near You
Mississauga
Square One Shopping Centre
100 City Centre Drive, Mississauga,
ON L5B 2C9
Phone
+1 (905) 232 -7226
Need an Experienced Piercer in Mississauga?
Working with an experienced piercer can make all the difference when it comes to your piercing experience. If you’re in the Mississauga, Ontario area and have any questions about ear piercing, body piercing or jewelry, give us a call or stop by our piercings studio today. We’d love to help walk you through what to expect and help you choose the right option.