Are you considering changing your nose piercing from a stud to a ring? Transitioning from a stud to a ring can be an exciting step in your body modification journey. However, it's crucial to approach this change with caution and arm yourself with the right knowledge and information. In this comprehensive guide, we will provide you with all the necessary details, tips, and expert advice to make your transition a smooth and enjoyable experience.
At Pierced, our team of experienced professionals understands the intricacies involved in changing nose piercings, and we are here to guide you through the process step by step. So, let's dive in and explore everything you need to know when changing your nose piercing from a stud to a ring.
When to Change Your Nose Piercing?
At Pierced, we always suggest that our clients start off by initially wearing a stud in their piercing. Wearing a stud will help you to not catch the jewelry on any clothing, bedsheets, towels, etc. which will make the healing process go by quicker. Stud style jewelry also tends to move around less, which will also help the area heal quicker!
It's crucial to wait until your nose piercing is fully healed before changing from a stud to a ring. The healing process typically takes around 6-8 weeks for initial piercings and 3-4 months for cartilage piercings. Rushing the change can lead to complications and hinder proper healing.
Choose the right style of jewelry for your lifestyle
There are multiple jewelry options you can wear when it comes to your nostril piercing! For example, if you are planning on changing your nose stud to a nose ring, you need to consider which type of ring will work best for you.
At Pierced, we offer
- Nostril Nails
- Seam Rings
- Captive Bead Rings
- Clickers
We have a blog post that explains certain rings in detail, and their pros and cons. Click here to learn more about the different types of jewelry we offer at Pierced.
We always advise wearing body jewelry made from implant grade materials. This is especially important for those who experience allergic reactions or have metal sensitivities.
We recommend only wearing jewelry made from implant grade titanium, or 14k solid gold to avoid any reactions!
Check out our blog post on how to learn how to determine your jewelry size at home!
Step-by-Step Guide to Changing Your Nose Piercing
Gather the Right Tools and Materials
Before attempting to change your nose piercing, ensure you have the necessary tools: sterile gloves, a mirror, a clean paper towel (to put your jewelry on), sterilized jewelry (ring), saline solution for cleaning. These tools will help you perform the procedure safely and hygienically.
Sterilization and Hygiene
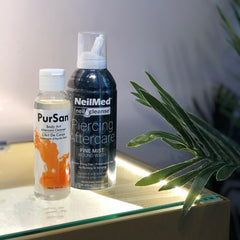
Proper sterilization is vital to prevent infection. Cleanse your hands thoroughly and use disposable sterile gloves during the process. Ensure that your jewelry and tools are sterilized to reduce the risk of contamination. Sterile saline solution should be used to clean the piercing before and after the change.
Cleaning and Preparing the Area
If you’re doing this in the bathroom, don’t forget to close the drain of any nearby sinks. You’d be surprised how many pieces of jewelry can get dropped down the drain!
Start by cleaning the piercing site using a sterile saline solution or an approved piercing aftercare solution. Gently remove any debris or crust that may have accumulated.
Removing the Stud
Carefully unscrew the ball or gem from the stud, keeping the post steady. Avoid twisting or pulling on the post excessively, as this may cause unnecessary discomfort or damage.
If you are wearing a threadless stud, you’ll want to grab a hold of the decorative end, and the stud and pull them apart in opposite directions, no twisting required. Threadless jewelry should just pull apart, but you may need to apply a bit of force. Once you have removed your stud, place it aside on a clean paper towel.
Inserting the Ring
You’ll then want to clean your piercing with a saline solution, and follow your typical piercing aftercare routine. It's always a good idea to clean your piercing before putting something new in.
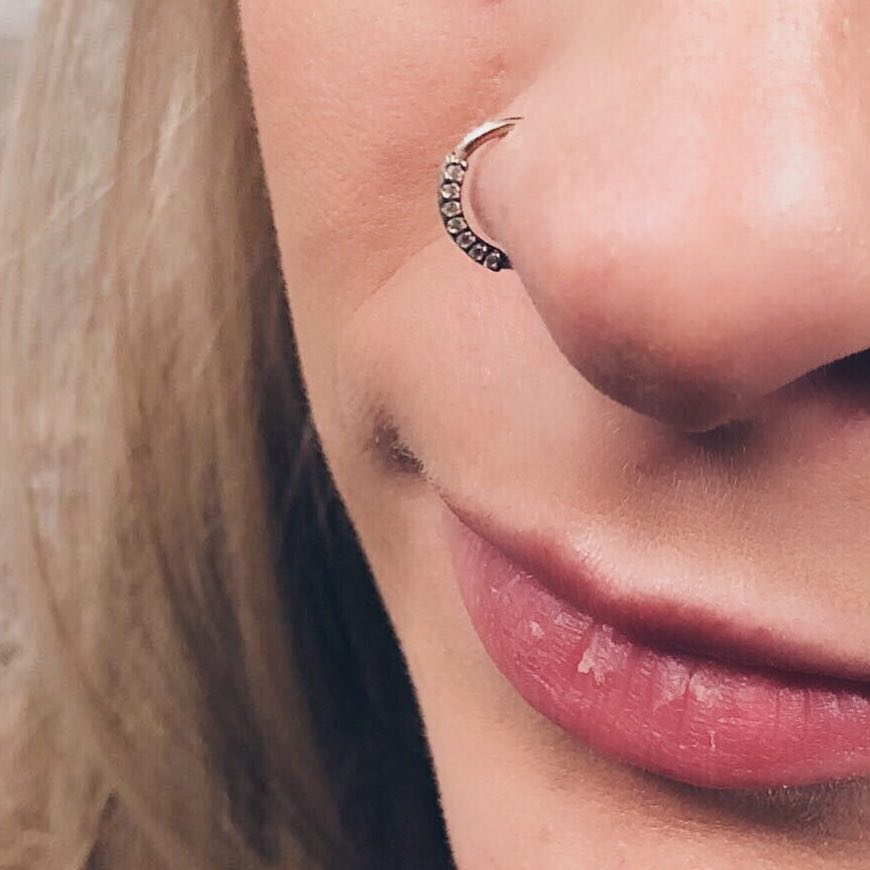
When you're ready, align the ring with the hole, ensuring the curved part of the ring faces the inside of your nostril. Gently slide the ring through the hole, applying minimal pressure to avoid any pain or irritation.
Securing the Ring
Once the ring is in place, secure the closure mechanism. Depending on the type of ring, this may involve closing a ball closure ring or bending a seamless ring to hold its shape. Make sure the ring is secure but not overly tight.
Aftercare and Maintenance
Cleaning the Piercing
After changing your nose piercing, continue to follow a diligent aftercare routine. Cleanse the piercing twice a day using a sterile saline solution or piercing aftercare solution. Avoid using harsh soaps, alcohol, or hydrogen peroxide, as these can disrupt the healing process.
Healing and Adjusting to the New Jewelry
Allow time for your piercing to adjust to the new jewelry. Swelling and tenderness may occur initially, but this should subside within a few days. Avoid excessive movement or touching the piercing, and be patient during the healing process.
Common Concerns and Troubleshooting
Irritation and Swelling
Some temporary irritation and swelling are common after changing your nose piercing. To reduce discomfort, apply a cold compress or take over-the-counter anti-inflammatory medication as directed. If the swelling persists or worsens, consult a professional piercer.
Infection and Discharge
Signs of infection include excessive redness, persistent pain, increased discharge, and foul odour. If you suspect an infection, seek medical attention immediately. Proper aftercare and maintaining good hygiene can help prevent infections.
Snagging and Catching on Clothing
Be cautious when changing clothing or drying your face to avoid snagging the ring on fabric or towels. Use a soft, clean towel to pat your face dry gently. Avoid excessive movement or contact with the piercing during physical activities.
Conclusion
Changing your nose piercing from a stud to a ring can be a transformative experience. By following the step-by-step instructions, maintaining hygiene, and seeking professional advice when needed, you can ensure a successful transition. Remember to prioritize aftercare, choose high-quality jewelry, and be patient with the healing process. Pierced is your reliable partner in body modifications, providing expert advice and top-notch services. Embrace your individuality and enjoy your new nose ring!
Piercing Studios Near You
Mississauga
Square One Shopping Centre
100 City Centre Drive, Mississauga,
ON L5B 2C9
Phone
+1 (905) 232 -7226
Need an Experienced Piercer in Mississauga?
Working with an experienced piercer can make all the difference when it comes to your piercing experience. If you’re in the Mississauga, Ontario area and have any questions about ear piercing, body piercing or jewelry, give us a call or stop by our piercings studio today. We’d love to help walk you through what to expect and help you choose the right option.